From Grain to Glass: How to Brew Your Own Spirits at Home
Alcoholic beverages have been a part of our culture for centuries, with different recipes and techniques evolving over time. In the past, brewing and distilling were primarily done in large commercial settings with the goal of mass production. Back then people didn’t have the opportunity to experiment with different ingredients or techniques, but nowadays, we have the privilege of being able to craft our own spirits at home.
With the rise of the homebrewing industry, more and more people are becoming interested in making their own alcoholic beverages. This gives us more control over the ingredients and overall quality of the final product, as well as the fun and rewarding experience of seeing it all come together. Of course, the homebrewing essentials for your first batch will vary depending on the type of spirit you want to create but there are certain steps that apply to most batches thanks to their universal importance.
How Do You Make Home Brew Spirits?
These days, the assortment of home brew spirits for an immersive and flavourful drinking experience has increased dramatically, but the basic steps for creating them remain the same. Naturally, how much of each ingredient you need will depend on the scale of your project and the type of spirit you are aiming to make. However, the general process involves the following:
Selecting the Ingredients
As far as brewing spirits at home goes, there’s a lot of freedom to experiment with different ingredients. Depending on the kind of beverage you want to make, some common ingredients may include grains like barley or wheat, fruits such as apples or grapes, and other flavourings like herbs and spices.
Let’s say you want to make whiskey – you’ll need a base of grains such as corn, wheat, or rye. All of these options have different flavour profiles and can greatly affect the taste of your final product. Other options like gin, for example, require a neutral grain spirit as the base and then you can add different botanicals to achieve the desired flavour. The end goal is to create a mash that will ferment and produce alcohol during the next phase.
Creating the Mash
Speaking of fermentation, this is the next step in creating home brew spirits. After you’ve selected and prepared your ingredients, it’s time to mix them together with water to create a mash. The ratios of each ingredient will depend on the type of spirit you’re making and its recipe.
The key here is to make sure that all the components are mixed evenly and that the mash has a consistent texture. This will help with the fermentation process and ultimately affect the quality of your final product. When each ingredient is properly blended, it’s time to add yeast and let the fermentation process begin.
Fermentation Process
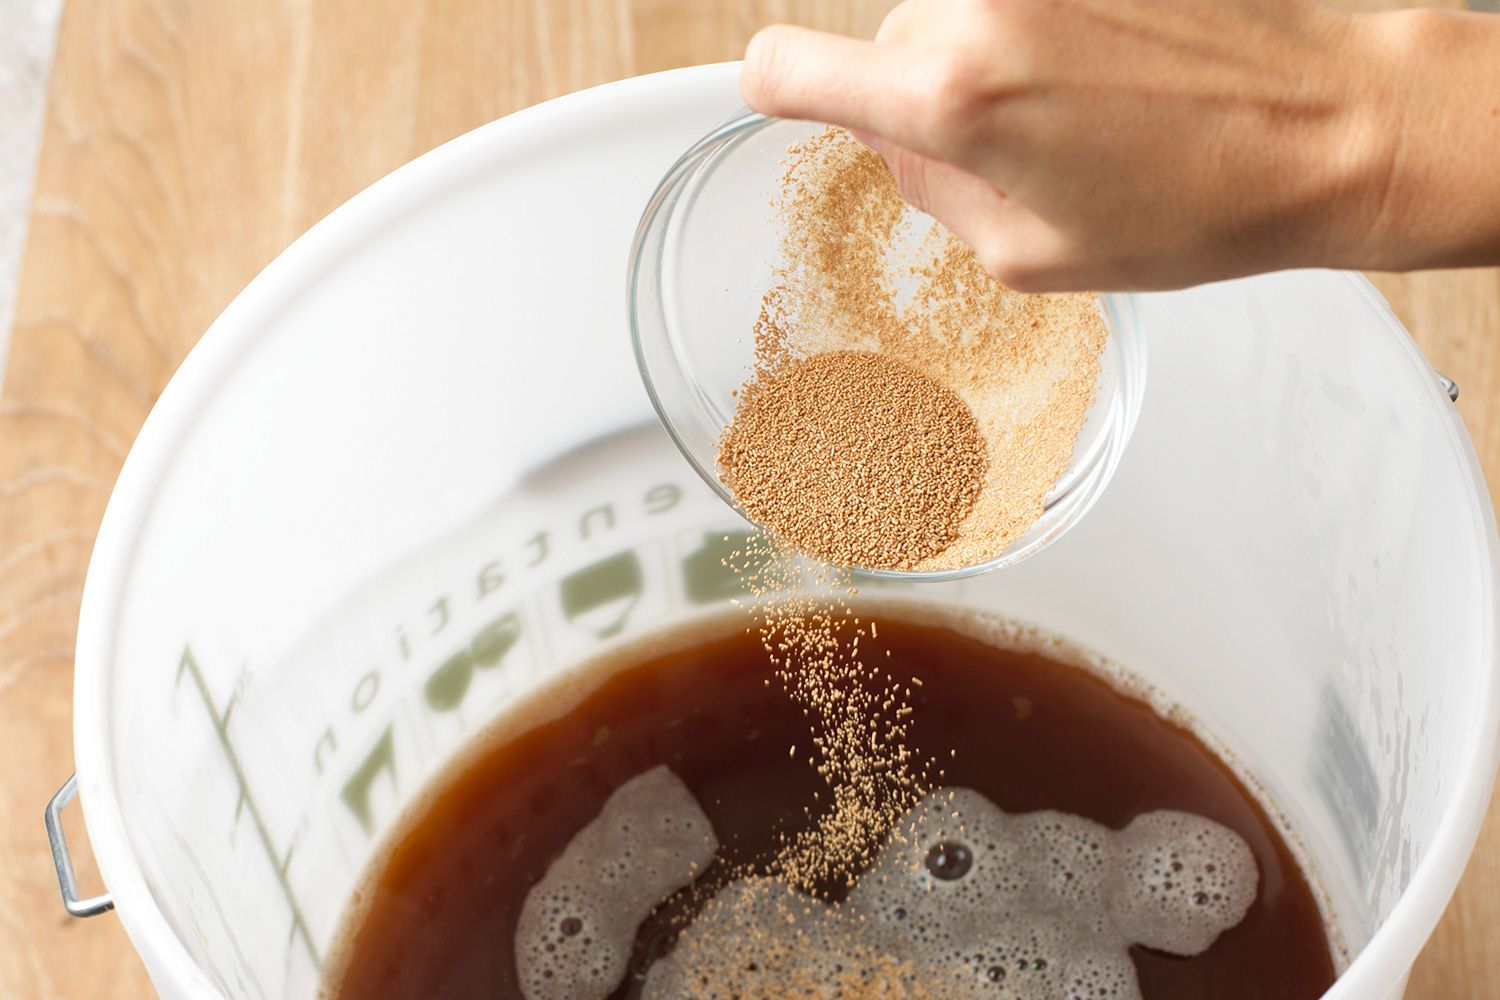
The role of yeast in the fermentation process is to convert the sugars in the mash into alcohol and carbon dioxide. This process can take anywhere from a few days to several weeks, depending on the type of spirit you’re making and its recipe.
During this time, you need to pay close attention to the temperature and environment in which your mash is fermenting. If it’s too cold, fermentation may not occur at all, while if it’s too hot, you risk off-flavours and even spoilage of the mash. Generally speaking, the ideal temperature for fermentation is between 18-24 degrees Celsius. You can check this stat using a thermometer and adjust accordingly by moving the mash to a different location.
Distillation of the Fermented Mash
Once your mash has finished fermenting, it’s time for the most exciting part – distillation. This is where you will separate the alcohol from water and other unwanted substances in your fermented mash through heating and condensation processes.
The basic home distilling setup includes a still, heating source, and condenser. The fermented mash is added to the still and then heated until the alcohol reaches its boiling point and evaporates. As it rises through the column of the still and passes through the condenser, it is cooled and turns back into liquid form – this is your distilled spirit.
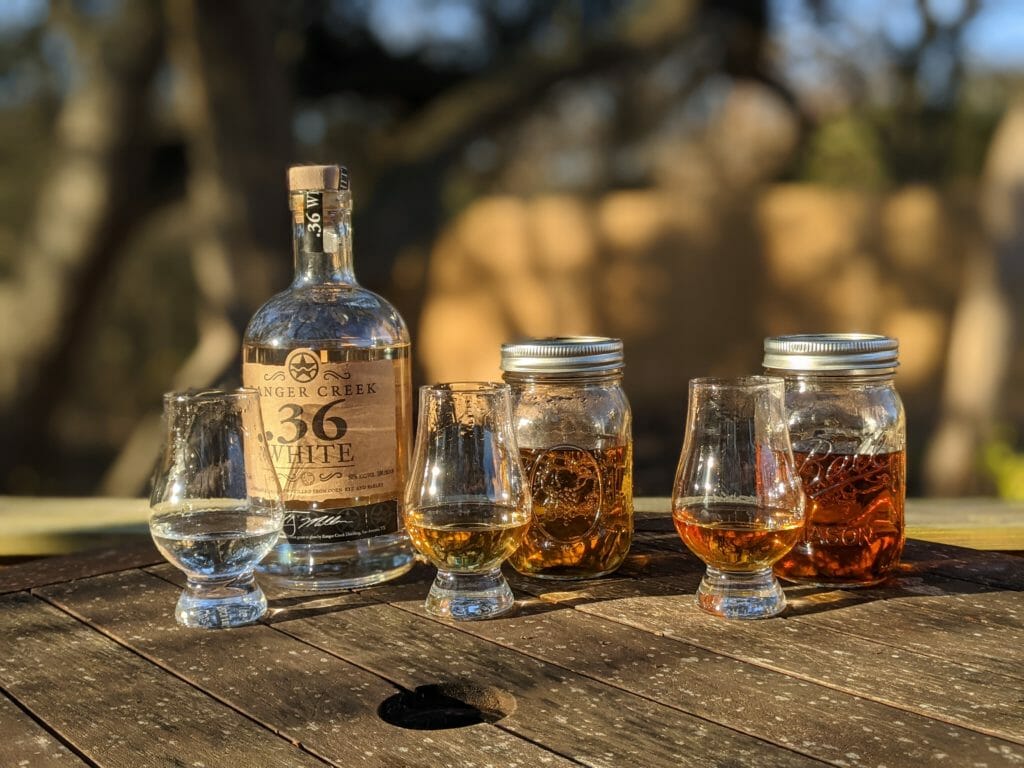
Aging and Maturation
After distillation comes another crucial step in the process – aging and maturation. When your home brew spirit kit is new and freshly distilled, it will have a harsh taste due to the lack of time for flavours to blend. This is where aging comes in – you can transfer your concoction into oak barrels or other containers and let it age for a period of time.
The length of time needed for aging and maturation varies depending on the type of spirit being made and personal preference. Some options, like whiskey and brandy, can benefit from longer aging periods while others, like gin and vodka, don’t require much aging at all. During this time, the flavours will develop and mellow out, resulting in a smoother and more complex taste.
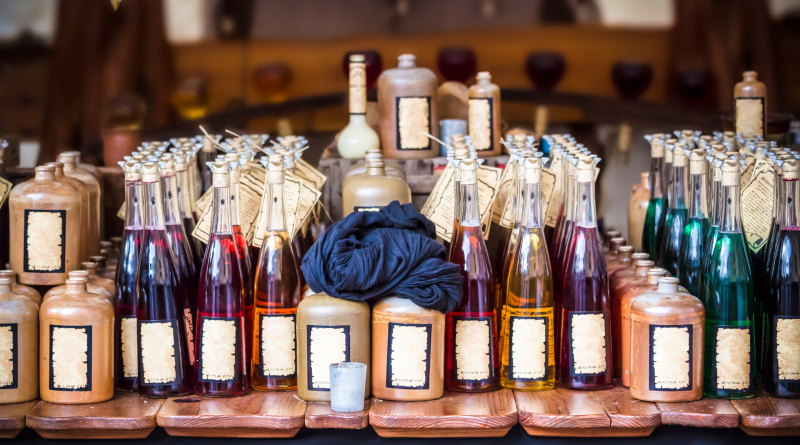
Bottling and Storage
Finally, after your spirit has been aged to perfection, it’s time to bottle and store it. This step is pretty straightforward but requires a few key things – clean bottles, proper corks or caps, and a cool and dark storage area.
Make sure to properly clean your bottles before bottling your spirit to avoid contamination. Also, consider using dark glass bottles as they can help preserve the integrity of the liquid by blocking out light. Once you’ve filled the bottles, seal them tightly and store them in a cool and dark location to avoid affecting the flavour of your beverage.