A Beginner’s Guide to Homemade Liqueur
Did you know that the word liqueur comes from the Latin “liquifacere” meaning “to melt or dissolve”? They come in a variety of flavours and additions. Liqueurs are an important category among alcoholic beverages. Following the latest research done by Roy Morgan Research, we can say that around 8% of Australians, which comes to about 1.5 million people, have at least one glass of liqueur in a 4-week period. During the COVID-19 pandemic and the quarantine, many people in Australia took up liqueur homebrewing as their hobby. It’s a steady process that can last for a couple of days or a few weeks.
What is a Liqueur?
Before diving into the process of making homemade liqueurs, we have to know what liqueurs are. They’re defined as alcoholic drinks, mixtures of spirits, sweeteners and flavourings. These flavourings include fruits, herbs, flowers or nuts. They’re usually served during dessert or just after it, but people nowadays often drink them at any time of the day.
An amazing thing about high-quality homebrew liqueurs or any mass-produced liqueur is that they don’t need aging. There might be a short period of time where the ingredients need to blend and the spirit to get the flavours, but it doesn’t last more than one month. It’s interesting that they started off as medicine in the 13th century and developed into something so commonly used and consumed.
How to Make Liqueurs at Home

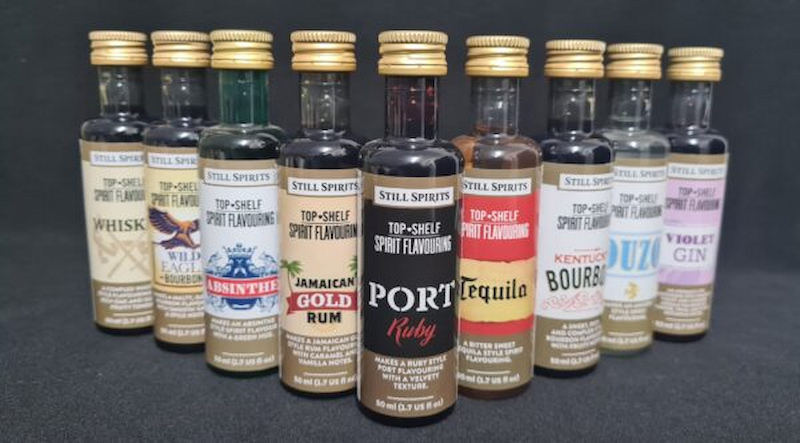
The homemade liqueurs are a great way to get creative and try new flavours. The most common base is vodka because it doesn’t have any colour and it’s flavourless. It’s essentially a blank canvas waiting to absorb new colours and tastes. If you’re feeling adventurous you can get rum, brandy, tequila, gin or whiskey as your base. They should be above the 40% ABV. This process doesn’t require a lot of equipment. The essentials are measuring cups, a kitchen scale and one alcohol hydrometer to measure the ABV (alcohol by volume).
Pick a Flavour
This is an exciting part of the process. Deciding what flavour you want to do is not easy because almost anything you can imagine can become a liqueur. There are two ways that you can add flavour to it. The first one is by adding extracts, and the second one is more natural. You just add the ingredients in their natural form no matter if they’re fruits or herbs. The second way takes more time because you have to let the base soak up the natural smell, colour and taste of the ingredients for a couple of weeks.
Adding extracts is the faster way to do it and the flavours will be stronger. When you can’t find the desired taste in the shape of an extract you can use natural fresh ingredients. This is not a scientific experiment or something you have to go to class for. It’s simply about what your personal preferences are. At the end of the day, if it turns out too strong, you can always add a little extra alcohol to soften the flavour.
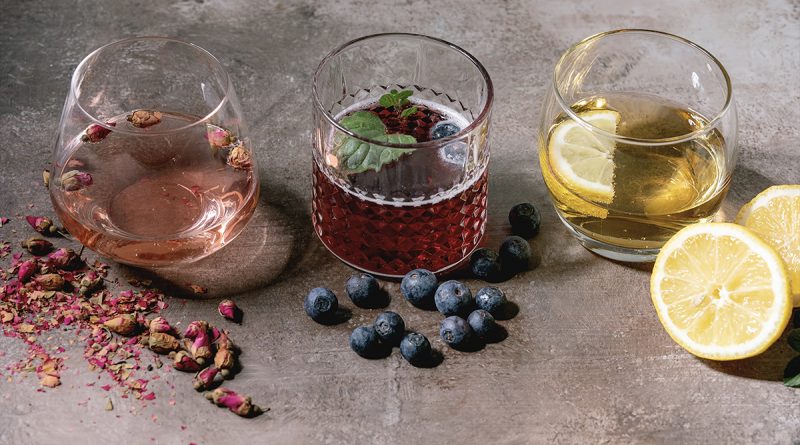
There are so many flavouring ideas you can try. Fruit is one of the most common, with options such as orange and lemon zest, cranberries, raspberries, strawberries, blackberries, peaches, tart apples, dried apricots or pineapple; the possibilities are endless! If you like the herby flavour more you can go with vanilla beans, nutmeg, rosemary, peppercorns, lemongrass, hot chillies, thyme, basil and even garlic. Plus, you can mix and match ingredients from these two categories.
Once you’ve picked the flavour or flavour combination, put it inside the container, a bottle, glass or a jar together with the base (vodka, gin, whiskey). Place the container in a dark place where the sun can’t reach it and let it rest as long as you need it to. Every couple of days rotate the containers and get a little taste of the liqueur to see how the flavours are developing. As soon as you get the right balance, remove the ingredients and strain them if needed.
Add some Sweetness
Avoid the temptation to directly add sugar to the alcohol when sweetening liqueurs since it will take too long for the sugar to dissolve. Plus, you won’t be able to detect how sweet it is straight away. Make a basic syrup by mixing two parts sugar with one part water. Put them in a saucepan and let them simmer until all of the sugar is dissolved.
Remove the saucepan from the stove and let it rest for a while, don’t put the hot syrup inside the liqueur. When it’s done, just mix them together and let them rest for a few days. That way you’ll get a perfect blend of sweetness and your chosen flavour. Instead of this homemade syrup, you can use agave or maple syrup, honey, brown sugar or even stevia.
Homemade Liqueurs That are Worth Making

Besides enjoying them on your own or with your friends and family, these homebrew liqueurs can be a perfect present for a birthday, graduation, or anniversaries. The person will know that they received something made with a lot of love and dedication. When compared to homebrewing beer, following the recipes is not hard to do, just remember to sterilise the containers you’ll use for storage.
Raspberry Liqueur
This is a fun and delicious drink that’s ready in record time. You’ll need 700g of frozen raspberries, 800ml vodka and 250g of sugar. Put the raspberries in a large jar, or any container, cover them with the sugar and add the vodka. Close the lid and shake throughout the day so the sugar can dissolve faster. Store it in a cool, dark place for a couple of weeks, or more if you want to. When the liqueur is ready, strain it through a few layers of cloth, preferably muslin, and bottle it.
Lemon Liqueur
This is the perfect drink for hot summer nights, on the rocks or straight up. You’ll need four medium lemons, 480ml of vodka, 480ml of water and 200-300g of sugar. In a big container add the lemon peel, and avoid the white layer if possible. Pour the vodka inside and let the jar sit for 12 days while stirring once a day.
After the wait is over, boil the sugar and water, let the sugar dissolve and let it cool. After straining the vodka and lemon mix, add the water and sugar. Combine them well and let them sit at room temperature for two days. After that, the liqueur is ready to be refrigerated and consumed.
Herbal Liqueur
The herbal liqueur is something you should do when you have a lot of fresh herbs in the house. That way you’ll get the perfect flavour. You’ll need:
- 400ml vodka;
- 10g spearmint;
- 2g of each: tarragon, thyme, oregano;
- 3g sage;
- 6g basil;
- 60g honey;
- 120ml water;
- 1 cinnamon stick.
The first thing to do is to destem the herbs. Put the leaves and the vodka in a blender and blend them for one minute on a high setting. Get a saucepan and mix the water and honey. Break the cinnamon stick inside and bring it to a boil. Remove it from the stove and let it cool. Remove the pieces of cinnamon and add the vodka into the blender together with the herbs. Pulse them together to combine them well. When this is done, strain the mixture and it’s ready to go to the fridge.